Just like all battery-powered devices, the condition of your e-bike battery can affect its performance. Therefore, knowing the battery’s condition can be immensely rewarding, which can help eliminate any unwanted situations.
So, how do you know if the battery is in a healthy voltage range, or how to test ebike battery? Well, performing an e-bike’s battery test isn’t a tough task, and you can do it in many ways, such as
- Checking the battery’s charge, voltage, current, and resistance with a multimeter
- Monitoring the previous and current ranges
- Monitoring the charging time
- Keep an eye on the battery’s depletion time
- Check the battery temperature and so on.
However, if you know very little about them, you’ve come to the right place. Here you can learn more about the battery testing process, what causes battery problems, and more.
Why Should You Test Your Electric Bike Battery?
Before I proceed with the testing process of your electric bike’s battery, let’s figure out why you should test your battery. Here are some reasons why you should check your battery. Have a look:
- You can determine the current battery status or condition by checking your e-bike battery.
- Performing tests on your electric bike will help you determine the lifespan of your bike’s battery (charge and energy holding capacity).
- Testing the battery will help you identify any potential issues that may be causing battery failure issues with the feature.
These are some of the advantages you’ll get by testing your electric bike’s battery. The truth is that if you can identify the problem early on, you can easily limit further damage.
How To Test Ebike Battery?
Testing an e-bike battery is very simple, and you can do it in a number of ways. However, the fact is that you can test the battery with or without the use of any tool. Follow along below to learn more about both:
How To Test Your Electric Bike’s Battery With A Tool (Multimeter):
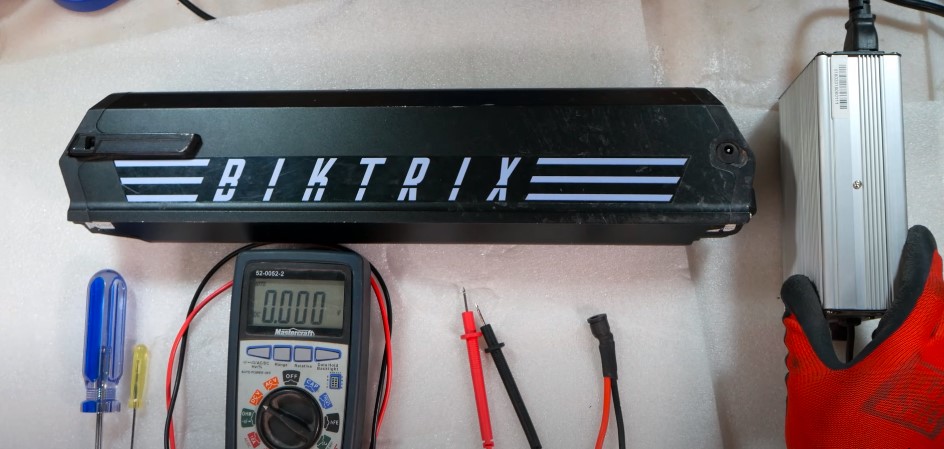
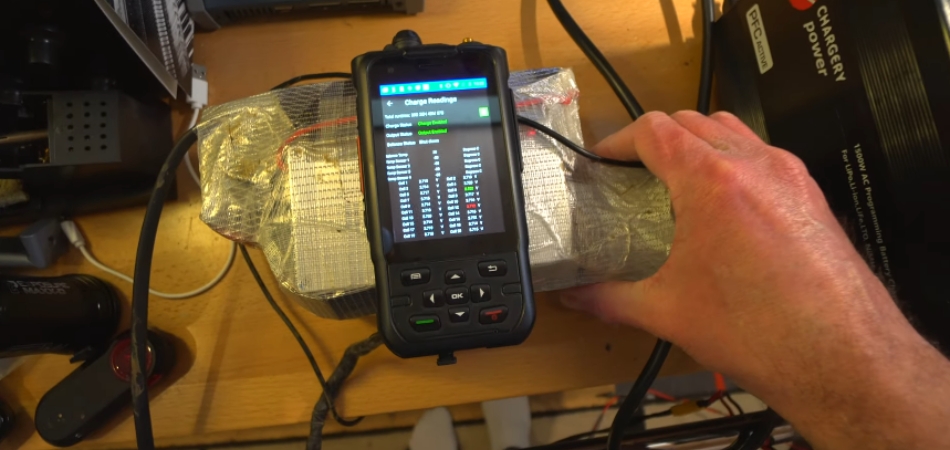
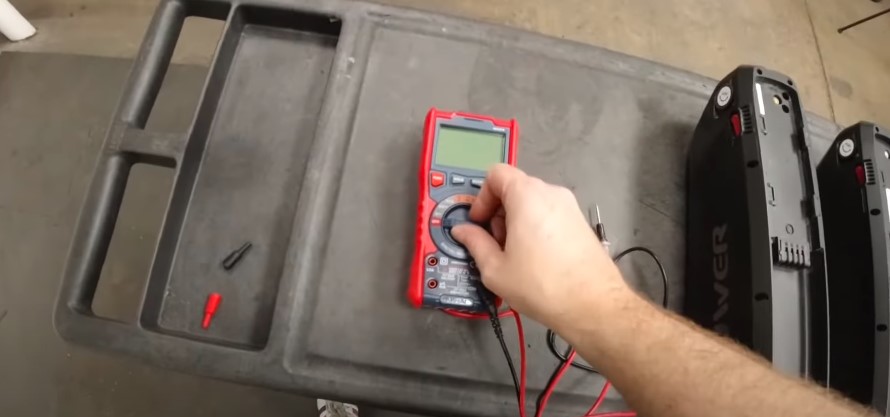
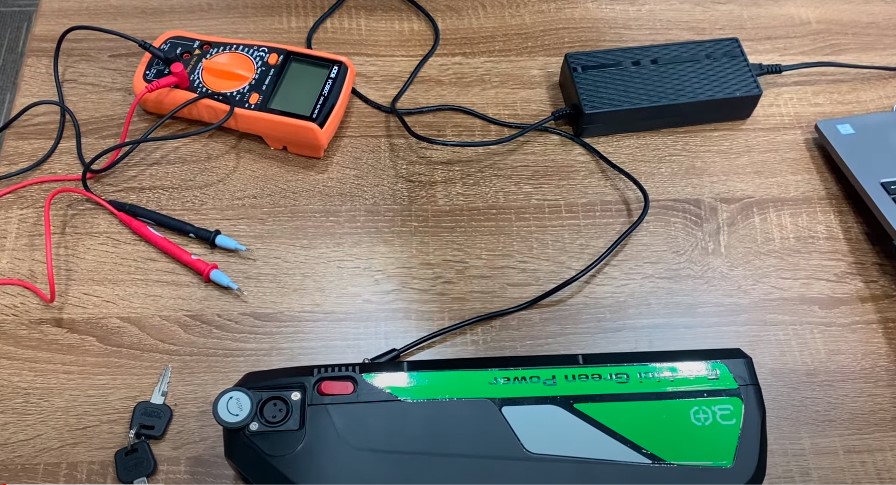
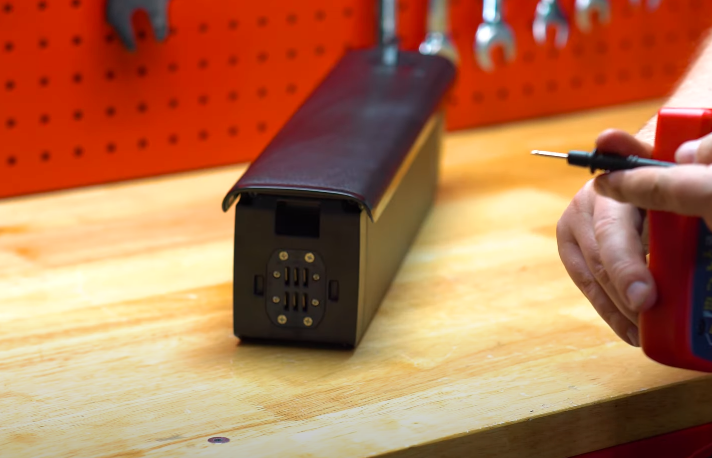
When it comes to getting the most accurate update on your e-bike battery, it’s worth it to get help from a tool like a multimeter. With a multimeter, you can perform multiple battery tests. However, always make sure to charge the battery completely before proceeding with the multimeter test.
Test the Voltage:
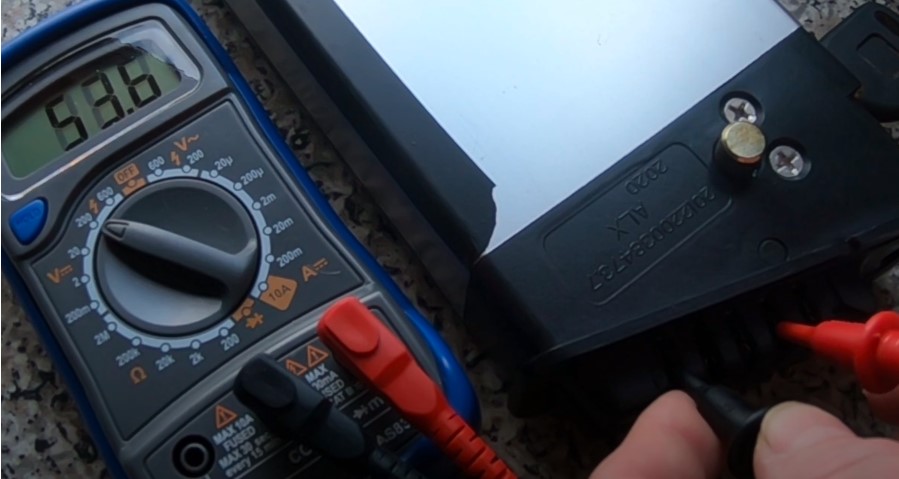
Voltage testing is the most effective and efficient method to detect faults in any electrical equipment. However, you must check the voltage with a multimeter. With a multimeter, you have to check and compare the original and current voltage of the electric bike battery.
Check out the section below to discover the battery voltage-checking method:
- Step: 1 – Take out the battery from your electric bike (make sure the battery is charged completely)
- Step: 2 – Now turn on the multimeter and set it on the volts function. If your multimeter has auto-ranging, that’s fantastic. But if it doesn’t, set the voltage range to the next highest number of your battery’s voltage
- Step: 3 – Also, attach the red probe to the VΩmA port and the black one to the COM port of the multimeter
- Step: 4 – After that, place the negative and positive probes of the multimeter on the battery’s negative and positive terminals
- Step: 5 – Check out the reading and try to note the voltage, and you’re done.
Now compare the current voltage with the original one (you’ll find the original voltage range in the user manual of your bike). If the voltage is too low or drops below the original voltage, it means the battery has a problem. Here is an example
- A 48-volt battery should show 54 VDC to 40 VDC
- A 52-volt battery should show 58 VDC to 42 VDC
Note: I’m assuming that you have a 48 or 52-volt battery, and if you see that your battery is not within the mentioned range, your battery has an issue. Or the battery is self-discharging.
Test the Current:
The quantity of electrical energy flowing through an e-bike battery at any given time is known as its current. Testing the current, or amp-hours, will let you determine the health condition of your e-bike’s battery.
However, you can easily perform a current test on your e-bike battery with a multimeter. And before performing the test, make sure that you have fully charged the battery and set the multimeter to DC. Check out the section below:
- Step: 1 – Make sure you have detached the battery from the bike
- Step: 2 – Adjust the multimeter’s dial to measure DC current within the proper range (Select 20mA if your e-bike battery has 10mA)
- Step: 3 – Now, attach the black probe to the COM and the red one on the VΩmA port of the multimeter
- Step: 4 – Now connect both probes to the battery (make sure you’re connecting to the right battery terminal)
- Step: 5 – Now note the reading, and you’re done.
See how simple the process is. Now compare the current reading with the battery manual. If you notice that the amp-hour current is slightly less than what is mentioned in the manual, the battery has no problem.
Note: However, if the reading is far less than as mentioned in the manual, the battery is running out of capacity.
Check the Resistance:
A battery’s resistance means it’ll try to stop the electric current from flowing through the battery. Well, every electrical circuit has such a resistance, and it should never be too high.
Fortunately, you can also use a multimeter to check the battery resistance, but a digital multimeter will give you the most accurate result. Therefore, here I’ll use the digital multimeter to test the resistance of an e-bike battery.
Follow the section below to learn about it:
- Step: 1 – Like every other method, fully charge your battery and take it out of the frame
- Step: 2 – Then set the multimeter to ohms or resistance mode (the display will show OLΩ when the resistance mode is turned on)
- Step: 3 – Now put the black probe into the COM and the red probe into the VΩ port
- Step: 4 – It’s time to connect the black and red probes to the battery’s negative and positive terminals
- Step: 5 – When the reading has been shown on display, note it, and you’re done.
Note: All you have to do is compare the current or collected readings with the readings provided in the manual. And the fact is that when the battery resistance increases, it decreases the battery’s efficiency.
How To Test Or Check Your Electric Bike’s Battery Without Any Tool:
Fortunately, you can easily check the health of your e-bike battery in a number of ways without using any tools. Some reliable ways or methods are included in the section below:
Check The Charging Time:
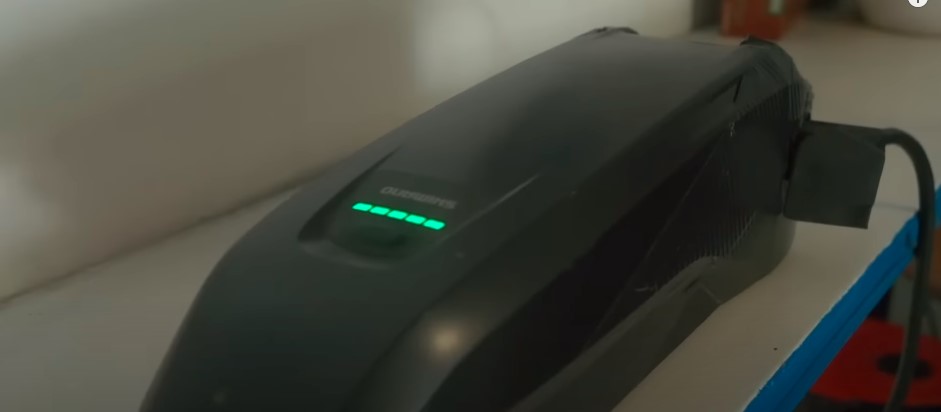
When you don’t want to use any tools, the first thing to do is check the charging time. Try to record how long it takes your battery to fully charge. If you notice that the battery is taking longer than usual to charge, there may be a problem with the battery.
Watch Out For The Discharging Time:
The next and most common method to determine battery health is to observe the discharge rate. When the battery of an electrical device starts to drain faster than usual, it’s obvious that the battery is starting to wear out. Fully charge the battery, do a couple of test rides, and note them. You can now quickly determine the battery’s condition.
Checking the Temperature:
Checking the temperature of an e-bike battery can provide information about the battery’s current state. It’s normal for the battery to heat up while charging, but if you notice that the battery is getting extremely hot while charging, there is a problem. However, possible problems could be voltage drops or a faulty charging port.
Note: These are some of the common methods that can help you determine if there is any problem with the battery or not. However, these methods are not accurate, and for accurate results, you should use a multimeter.
What Are The Key Reasons To Face Battery Issues With Your Electric Bike?
If you are knowledgeable about all the factors that lead to e-bike battery problems, you can reduce the battery issues. Here are some of the key reasons that will help you reduce battery issues and extend its lifespan:
Extending Weight Limit:
One of the most common causes of battery problems in electric bikes is exceeding the weight limit. Every electric bike comes with a certain weight limit, and extending it can have a significant impact on the battery.
Lack of Proper Care:
It may seem a little unusual, but you cannot deny that a lack of care can cause battery issues. Therefore, don’t forget to take care of your electric bike. Some of the key caring factors are storing the battery properly, keeping it dry, and so on.
Use Of Improper Charger:
There is no universal charger that you can use to charge all e-bikes. Each charge is manufactured to meet certain needs in terms of the battery and overall capacity of the bike. So always try to use the right charger to solve battery-related problems.
Decreasing The Battery Completely:
Occasionally, decreasing the battery may not create any big issues. But, frequently decreasing the battery from 100 to 0% is another core reason that you may face battery problems. Frequently draining the battery completely can damage the internal parts and reduce the battery’s lifespan.
Old Battery:
Last but not least, the battery of every e-bike has a certain lifespan, and after that time, it starts to wear out. However, the average lifespan of an e-bike battery is 3-5 years. If your battery is more than five years old and starts causing issues, it’s time to buy a new one.
Closing Thoughts
Now that you know how to test ebike battery, perform a test today and then decide if you need a new battery or not. Throughout this article, I’ve shown multiple ways that you can apply for battery testing and all of them are equally effective.
However, if you want the most exact result, go with the multimeter testing method. Learn about the battery voltage of your e-bike and then follow the step-by-step method mentioned in this article.
Once you’ve determined the battery condition, it’s up to you what you want to do with the battery. And always keep in mind the reasons that trigger or cause issues with an electric bike’s battery.
